


When you're out and about in the dangerous world of Wi-Fi, it's hard for the average computer user to stay protected, or even know what being protected entails. Little do most people know, Windows 7 has a built-in security that few people take advantage of: a VPN (Virtual Private Network) server and client.
A VPN has two parts: the server, and client. The server could be a computer you have running back at home, and a VPN client connects to that home server with an encrypted connection. It runs all your computer's internet traffic that you forward through it. When using the VPN as a tunnel, our computer doesn't make the page requests. That means we are protected from packet sniffing and man-in-the-middle attacks. You can also access shared media on the VPN server! What an awesome deal!
In this Power Byte, we are going to use Windows 7's built-in VPN server and client to tunnel our traffic and encrypt our traffic on-the-go.
Step 1 Configuring the VPN Server
Lets work on getting the VPN server set up. This will be the desktop you have that stays on at home.
- Click Start > Control Panel.
- Click Network and Internet.
- Click Network and Sharing Center.
- On the left panel, click Change Adapter Settings.
- Hit Alt. Then, on the newly appeared file menu, click File > New Incoming Connection.
- Check the box next to whichever user you want to have remote access to. (Make sure you have a strong password. The last thing you need is someone breaking your weak password and getting access to your home files). Hit Next.
- For this part, you need to leave IPv4 checked. If you want File and Printer Sharing, enable it here. Click Allow Access.
- Take note of the information it tells you to keep track of. I would put it in a .txt file on the laptop client that we will be connecting with later. Hit Close.
- Highlight your connection that has internet under the Change Adapter Settings, as well as the new VPN incoming connection. Right-click them and hit Bridge Connections.
Step 2 Enable Port Forwarding
We have to make sure our router doesn't filter the port that we need for our VPN by enabling port forwarding.
- Click Start. In the search type "cmd" and hit Enter. In the prompt type "ipconfig", and it will list your default gateway and IP address, take note of both.
- Go to the router configuration page, the default address is 192.168.1.1. Type that in your browser address bar, or the one you got from the previous step.
- Type in your Username and Password for the router. Default is usually admin:password.
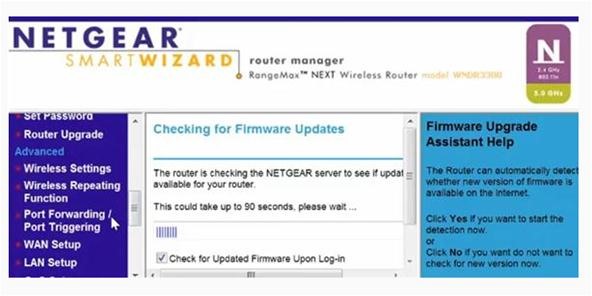
- Click Port Forwarding somewhere on the page, all of them look different. Here is how mine looked:
- For me, I clicked Port Forwarding, the clicked the dropdown menu and chose PPTP (Point-to-Point Tunneling Protocol), which is what the Windows VPN uses. If you need to enter the information manually, the server is your IP from Step 1, and the port is 1723. If you need to enter an end port, that is also 1723. Save your settings.
- Go to What Is My IP Address, and write down your IP. You will need this to tunnel traffic.
- That's it! Now, time to set up the client!
Step 3 Using the VPN Client
- Click Start > Control Panel.
- Click Network and Internet.
- Click Network and Sharing Center.
- Click Set-Up a Connection or Network.
- Then click Connect to a Workplace.
- Click Use My Internet Connection.
- In the Internet Address field, type in the IP address you got from What Is My IP Address.
- Type the Username and Password then click connect, everything should go smoothly.
- Open any program you want to use to tunnel traffic, and change the proxy settings to:
<your ip address>:1723
That's it! Your internet is safe and encrpyted! Ask questions in the Power Byte Forums!
Just updated your iPhone? You'll find new emoji, enhanced security, podcast transcripts, Apple Cash virtual numbers, and other useful features. There are even new additions hidden within Safari. Find out what's new and changed on your iPhone with the iOS 17.4 update.


7 Comments
Godamnit!!! first... I got windows Vista.... second: I can't portforward !!!! SUCKS BIG TIME!! No forums could help me :'(
Thanks Alex. Very useful Article.
Am really addicted to your posts. Keep them coming..
Thanks a lot :). I really appreciate that. Expect there to be loads more for a long time to come!
Awesome!!! :D
Windows 8 must be different then 7. I can't get past the "Bridge Connections" part. :/
Thanks for such good article. I'll definetly try what you are talking about. Also you can connect servers of vpn-providers and thus to solve the problem of your insecurity. You can google to choose the best one reading vpn-reviews. The only thing I recommend is not to use free vpn services. I like boxpn.com (easy and cheap).
I have got a problem. When I was following the first 9 steps i stacked at the 9 point. When I clicked at bridge It shows me this error message
How can i fix this?
Share Your Thoughts